

Blog
Clipper Guard Numbers: What Are They and What Do They Mean?
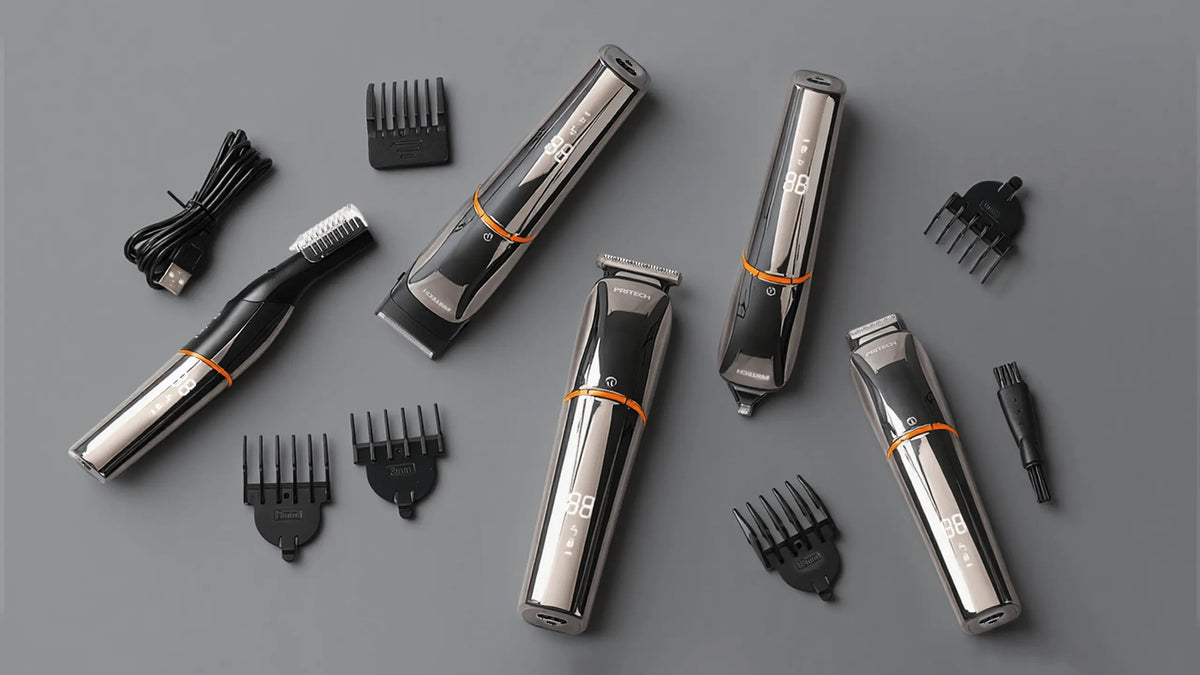
Imagine as if you are trying a new haircut. Your old barber is out of the town and you decide to visit a new hairdresser. You sit on one of those waiting benches, scrolling through your phone. The new barber comes along and tells you it's your turn. The new barber brings a hair clipper since your special haircut requires its usage. The barber asks you about the clipper guard number and that's where things become confusing for you. Your old barber knows the exact number whereas for a new barber, you cannot put a finger on it. You end up skipping the haircut and just wait for the old barber to return. Not the weekend you were looking for, were you? Come to think of it, what exactly are the clipper guard numbers? What do they mean and how can different clipper guard sizes determine your haircut? What Are Clipper Guards and How Do They Work? Assuming you know nothing about how hair clippers work and what instruments your barbers use, let's take it from the beginning. Imagine a lawnmower. You are supposed to use it to mow the lawn and cut the grass evenly everywhere. You wouldn't want to reduce the grass down to nothing and leave dirt everywhere, would you? Your lawnmower has special adjustments that help you determine the length of grass that needs to be cut. Hair clippers are a lot like that, but for your hair. They are tools that determine how much of your hair remains standing on your head. Here's a breakdown: Clippers: Special power tools with sharp blades that whiz around your hair, cutting the unwanted part. Guards: Often shaped like combs, these snap onto clipper blades. Their purpose is simple – to prevent your hair from being removed beyond the required length. Understanding Clipper Guard Numbers The meaning of clipper guard numbers is straightforward. A lower number means shorter hair, and a higher number means longer hair. Here's a handy haircut clipper guard chart for reference: #0: 1/16 inch (think "freshly shaved" short) #1: 1/8 inch (classic buzz cut length) #2: 1/4 inch (still short, but a touch more length) #3: 3/8 inch (good for blending fades) #4: 1/2 inch (a common crew cut length) #5: 5/8 inch #6: 3/4 inch #7: 7/8 inch #8: 1 inch (offers a decent amount of length) Choosing the Right Clipper Guard The best clipper guard for a buzz cut, a crew cut, or any short haircut depends on your desired length. Experiment to find what works for you! If you want a fade, you'll likely need multiple guards to achieve that gradient look – this is where knowing how to fade hair with clipper guards becomes important. Tips for Clipper Guard Success Can you use clippers without a guard? Absolutely, but this gives you a skin-close shave. Be careful! How to use clipper guards is easy – they simply attach to the clipper. Your barber will do this for you. Clipper guard measurements refer to how much hair they leave on your head. Invest in best clipper guards for beginners – these are often well-labeled and easy to use. The way it all works is that shorter number means shorter hair, and longer number means longer hair. It’s quite simple. Remember this the next time you visit your barber.
Learn moreHow to Oil Your Hair Clipper Blades?
Your hair clipper is a piece of electronics. If you don’t take care of it, you will end up shortening its life span. Just like any machinery demands care and maintenance, your hair clipper is no different. If you leave it out for too long without proper maintenance, you will end up with a clipper with rusty blades. Such a piece of machinery is more likely to malfunction. Furthermore, without oiling, the rusted blades can cause injuries and serious infections. Oiling the hair clipper keeps it functional, running and in best of health. In short, oil your hair clipper blades. However, oiling your clipper blades requires a series of careful steps. This is not a high maintenance task so, don’t worry about doing it wrong. It just requires a basic knowledge of electronics and even if you have never touched electronics before, you can still oil your machinery pretty well. Just follow the steps given below. Safety first! Before you even begin your oiling routine, please prioritize safety. Even the most attentive of us can get into accidents, and it always starts with the most basic stuff. For basic rules of safety, start with unplugging the hair clipper. Avoid oiling it near a wet place. Take out your clipper’s manual. Different models have different builds. Yours might differ from the one displayed on Google’s first page. Better yet, get to know the exact number and model of your clipper and see its video. Visual cues are your best bet here. If your clipper’s been collecting dust, then clean it thoroughly. Then, gently and with great care, detach the blades from the main body. Clear the debris further. Your blades might have remnants of hair stuck in them. You can take a gentle toothbrush and give your blades a cleanup. A gentle blast of compressed air can also do the trick. A few people use their vacuum cleaner to suck in the little debris. Practice caution. The blades are sensitive andunnecessary force may result in dents or damage. You don’t want that. Time for the oiling! This might be a tutorial on how to oil your hair clipper blades. However, that doesn’t mean you have to restrict yourself to one kind of oil. Oil itself is a lubricant. If you think the job can be done better with another lubricant, go for it. Apply oil precisely. Apply at the front teeth and a few at the back edge. Pour some oil on the guide rails. Blades slide on the guide rail, so a bit of oil there smoothens the overall motion. Reassemble the parts. Connect it all in the proper way and make sure there is no loose screw. Once everything is assembled and ready to work, you gotta run your hair clipper for ten seconds. This would make sure the oil you applied runs through all parts properly, making the oiling both external and internal. Finishing touches are the only things remaining. Grab a soft cloth and rub off any dripping oil. You wouldn’t want to get oil or lubricant on your skin. And let the hair clipper dry out before you can start using it again.
Learn more